

Start your first session
Join your workspace, choose Sandbox starting data and open your first underwriting result.
Review borrowers
Follow an origination from the submitted application to its risk package and evidence.
Build your integration
Create a scoped key, understand fields and trace requests and webhook events.
Manage your workspace
Manage organizations, workspace access, products and your team’s configuration.
Find the right area
Your role determines which areas appear. See roles and workspace access.
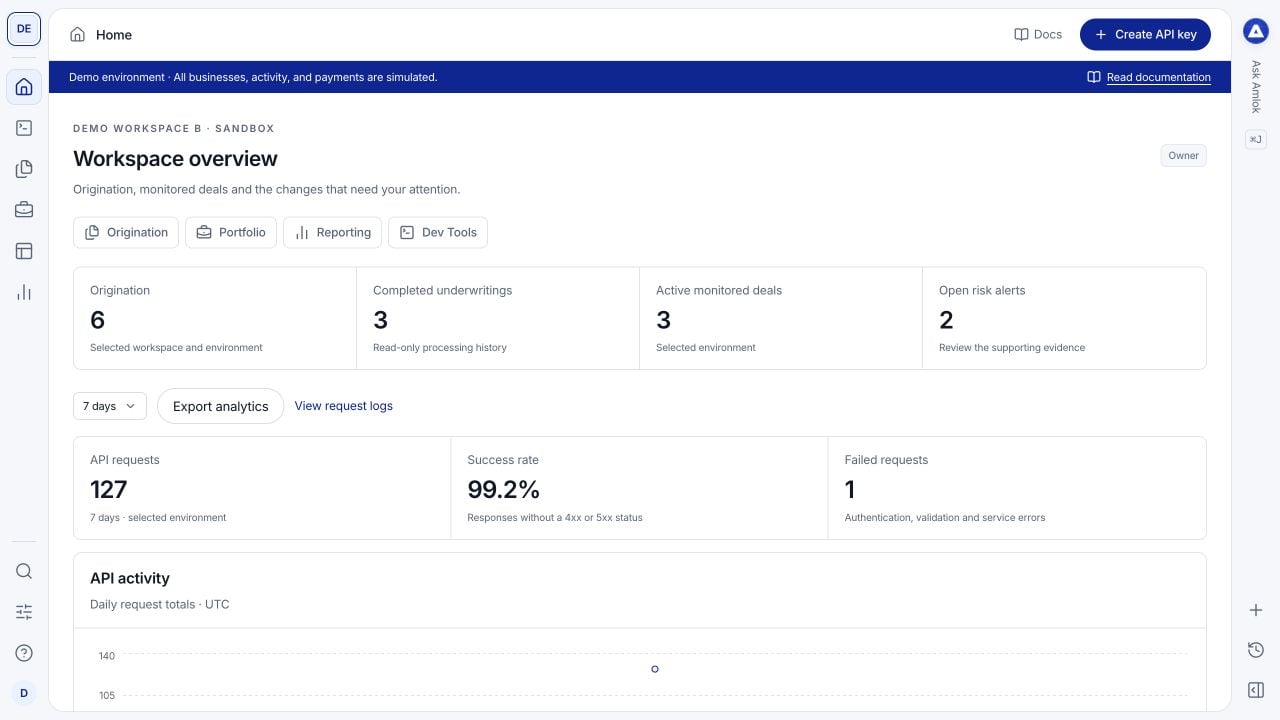
Home in the demonstration workspace. Counts, businesses and payments in these screenshots are synthetic.
Understand what the console controls
The console provides configuration and record review. Your integration submits borrower applications and documents, starts underwriting and supplies monitoring inputs through the API. Viewing a record, filtering a table or opening its drawer does not rerun processing or change a lending decision. Insights produces an underwriting risk package. Signal monitors change after funding. Your institution makes lending and intervention decisions in its own systems.Choose a learning path
- Workspace administrators: Workspace setup, team invitations, security and billing.
- Risk and operations teams: Origination, evidence, Portfolio and reporting.
- Developers: API keys, Data Lookup, Sandbox scenarios and webhooks.